Top 3 tips on how to increase email deliverability with Gmail and Google Domains
Go Mail Merge
The best Mail Merge add-on for Google WorkspacePicture this scenario: You've spent hours crafting an email template in HTML. You modified your and your partners logos for multiple dimensions. You've added all of your other branding content such as trademark text. You've add links to your Youtube videos, your landing page, and you even added Google Analytics UTM parameters. Finally, you send your email newsletter to your 800 subscribers and all you hear are crickets... no link clicks, no Youtube video views, nothing... hmm what could have went wrong?
A few hours go by and you reach out to a friend who is subscribed and he tells you he never received the email and a short time later he checks his spam folder and, lo and behold there is your email sitting nice and pretty.
Today we'll go over a few tips to increase your email deliverability rate.#
1. SPF authenticate your DNS server#
Sender Policy Framework (SPF) is an email authentication method that specifies the mail servers authorized to send email for your domain. SPF helps protect your domain from spoofing, and helps ensure that your messages are delivered correctly. Mail servers that get mail from your domain use SPF to verify that messages that appear to come from your domain actually are from your domain.
How to protect yourself from spoofing with an SPF DNS record:
Navigate to https://domains.google.com
Select the Manage button next to the domain you're sending emails from

Select the DNS menu button on the left
Scroll down to the Custom Resource Records section, here is where we will add our SPF record.

Enter the following values just like you see in the image below and click the add button on the right

Thats all there is to it! It will take anywhere from a few minutes until a day to propagate but most likely it will take less than an hour. Be sure to check out Mail Tester in order to test your SPF record validity.
2. DKIM signature#
Use the DomainKeys Identified Mail (DKIM) standard to help prevent spoofing on outgoing messages sent from your domain.
Email spoofing is when email content is changed to make the message appear from someone or somewhere other than the actual source. Spoofing is a common unauthorized use of email, so some email servers require DKIM to prevent email spoofing.
DKIM adds an encrypted signature to the header of all outgoing messages. Email servers that get signed messages use DKIM to decrypt the message header, and verify the message was not changed after it was sent.
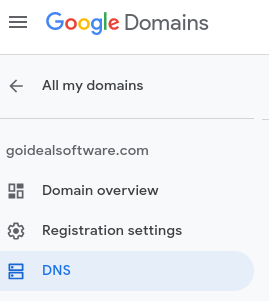
Steps to setup DKIM within Google Domains#
Navigate to this link and select the domain that you send emails from and it should look something like this:
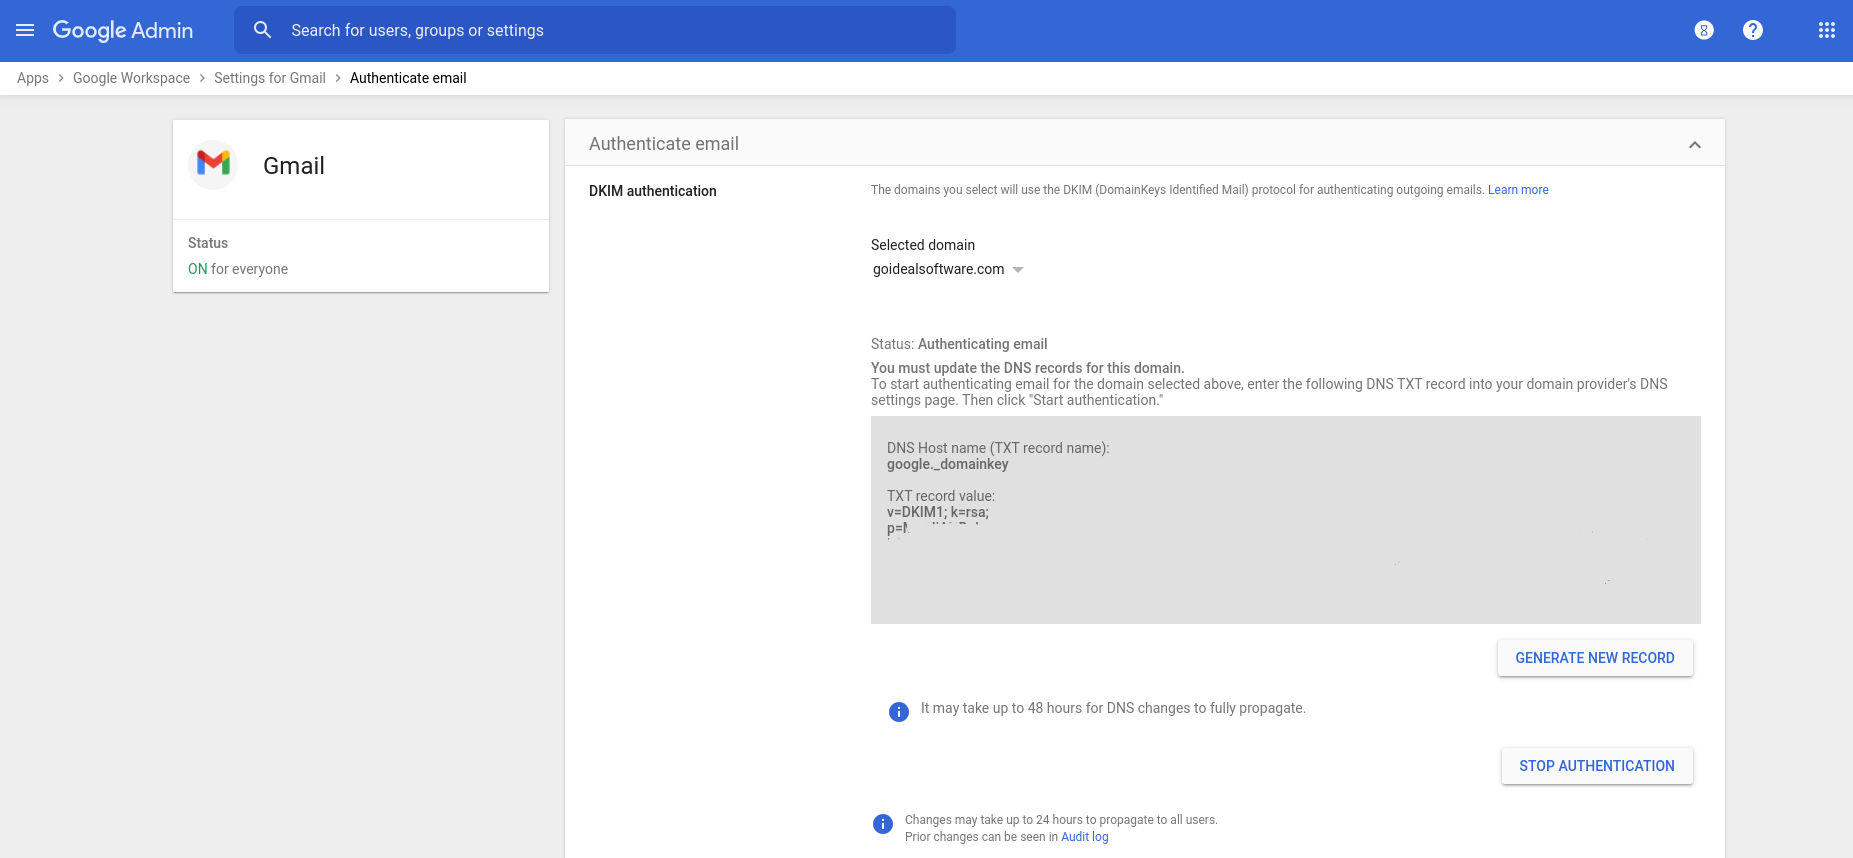
Once you have your respective domain selected click the GENERATE NEW RECORD button.
Once the new DKIM key is generated, open up a new browser tab and navigate to your Google Domains and select the DNS menu button on the left like we did for the SPF Record.
Scroll down to the Custom Resource Records section and select the TXT option from the drop down.
Copy and paste the DKIM TXT record value: that we generated in the Google Admin tab and insert the DKIM value inside the new text box record.
Now the most important part before clicking the Add button, you need to replace the first text box which has an @ symbol and you need to replace it with: google._domainkey in order for the verification to go through.
The end result should look something like this:

After completing this process, be sure to go back to the Gmail Authentication URL in order to click the START AUTHENTICATION button note it will probably take at least 15 minutes for the changes to propagate
3. DMARC#
A DMARC policy tells receiving servers what action to take on unauthenticated messages they get from your domain. The action to take is specified with the policy (p) tag when you define your DMARC record.
example DMARC record: v=DMARC1; p=reject; rua=mailto:postmaster@solarmora.com
Navigate to your domains DNS settings just like we did for our SPF and DKIM records.
Add a new TXT record with following name and value:
name = _dmarc
value = v=DMARC1; p=none; rua=mailto:YOUR_MAIN_EMAIL_ADDRESS@YOURDOMAIN.comFinally, your new DMARC dns record should look something like this:

Thanks for reading, be sure to checkout our other posts for more information!